
How to reduce SubscriptionTrackingDeletedObject table in CDS/Dynamics 365 – Updated!
One of my customers is a B2C customer with a very large online database exceeding 500 GB. With a very active Marketing automation tool interated, we generate a lot of data in Dynamics 365 CE which after defined retention periods needs to be removed. This has caused some side effects, that a table called SubscriptionTrackingDeletedObject has become very large. This article will describe how to set a configuration to reduce its size. UPDATED – Based on some new learning and information from Microsoft this article has now been updated!
We often monitor the Organizational Insights, and now lately the brand new capacity feature that can be found in the left hand menu in https://admin.powerplatform.microsoft.com, if you have a CDS/Dynamics 365 CE instance.
An interesting table started growing rapidly and we had no clue what this was, and I had during my now 15 years of working with Dynamics 365 never seen it. It was called SubscriptionTrackingDeletedObject. When I came back from my Swedish summer vaccation, it had grow to over an amazing 181M records. Time to fix this.
First thing, as usual is of course to google it (yes, it is a verb, get used to it). All I found was this somewhat informative post by my good friend Chris Cognetta who is an ace with infrastructure issues.
http://cognettacloud.net/2016/06/21/crm-database-log-growth-issue/
However, it seemed that they just truncated the table, and we were online so that was a bit tricky, to say the least. I was at this time a bit upset that Microsoft were taking up around 50GB of space for my customer without giving me any way of managing that, or having any direct use of it. I counted to ten and called Microsoft Support.
After a few emails back and forth, the excellent support technician at Microsoft informed me that there is actually a setting in the infamous super secret setting tool with the Star Trek-sounding name OrgDBOrg (it is pronounced “Org-D-Borg” in case you ever get stuck in Dynamics trivia). The setting is called ExpireSubscriptionsInDays. I will quote the support technician in what this table is used for and if anyone has any more information, please leave a comment.
“The SubscriptionTrackingDeletedObject table is the table that logs records for number of days before deleting inactive subscriptions as well as timed out deletion services.”
I am not sure for which purpose. If it is in regards to GDPR or some restore mechanism. I would like to know though. Default value for this i 90, which means that these logs will be stored for 90 days. The minimum they can be set to is 1. As I am currently not entirely sure what these logs are used for, I would not recommend you set them to 1, but I did set my customers to 5, hoping that this is not going to come back with a vengance.
We have during the day seen a dramatic drop in the amount of records in this table, with about 30M but and it is still ongoing, but hard to measure as there is a delay in the capacity measurement the Powerplatform admin portal.
Update! The size of the table fell to 160M rows but never below this so after some further discussions with Microsoft support they did some more investigation into this subject and came back with the following recommendation:
1. Reduce the value gradually from 90 to 60 and then on
2. Never go below 15
There is however, another related setting called ExpireChangeTrackingInDays which is located just next to the ExpireSubscriptionsInDays. This is defaulted to 30. We reduced this to 15.
Based on these recommendations we tried 60 days and this resulted in a most dramatic drop to around 20M rows. – End of update
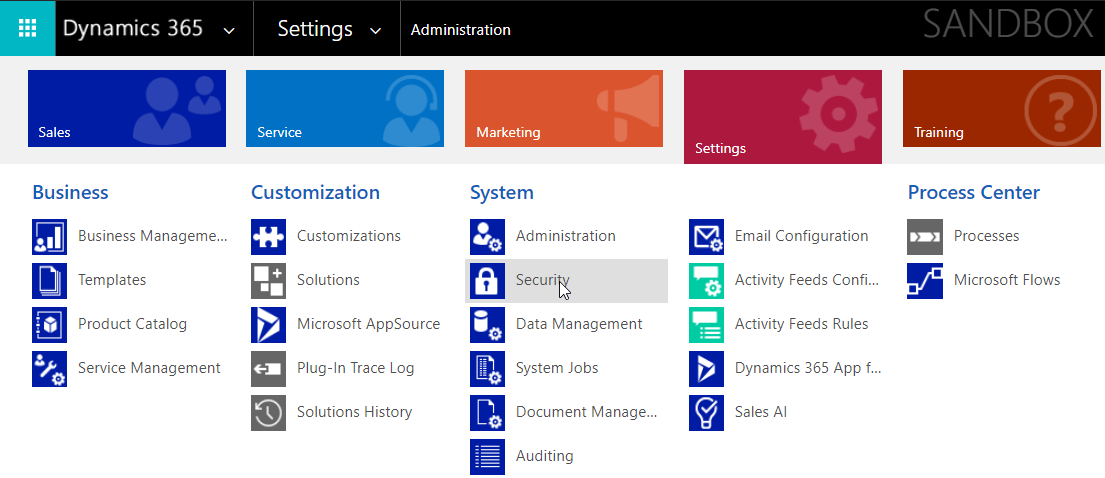
So, how do you do this? First, download the OrgDbOrgSettings tool and install it in the instance where you are having issues. Check out these links below for that:
https://github.com/seanmcne/OrgDbOrgSettings/blob/master/readme.md
https://github.com/seanmcne/OrgDbOrgSettings/releases
A word of advice regarding OrgDbOrg; don’t think that you are Captain Kirk and go flying off into the Beta Quadrant and beam every single setting just because you can. It won’t make your system better, rather the opposite. Make really sure on what you are doing and don’t even trust a blog article like this, read the KB-article linked in the tool and make up your own mind. It is a powerful tool, like a jackhammer.
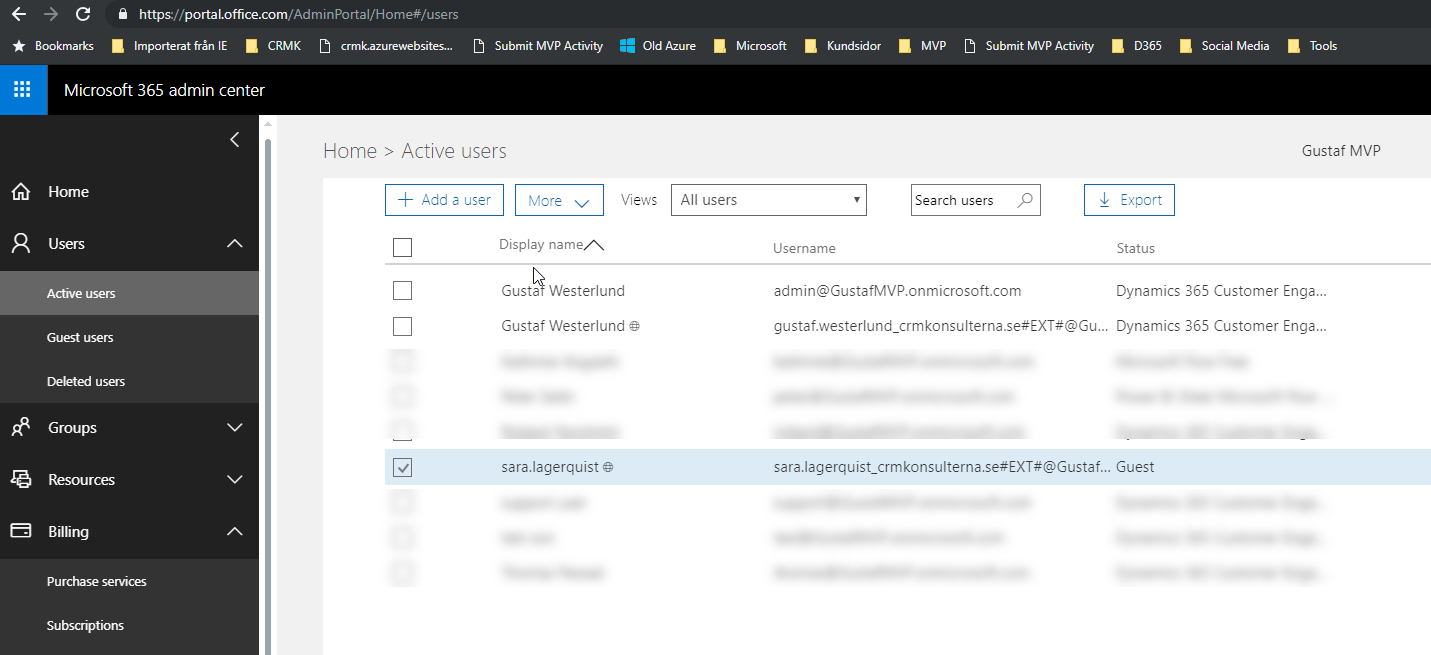
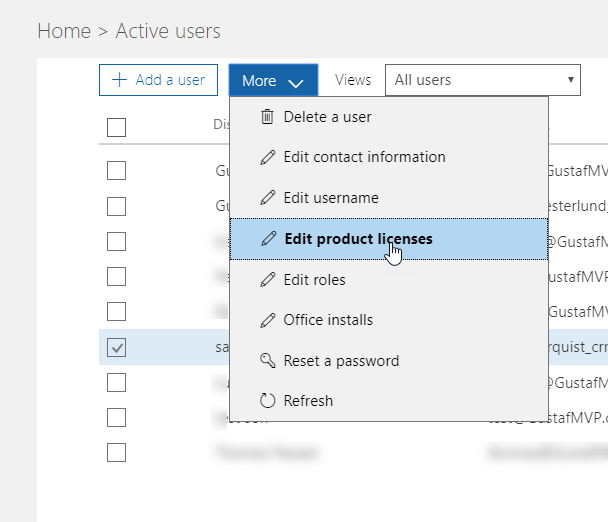
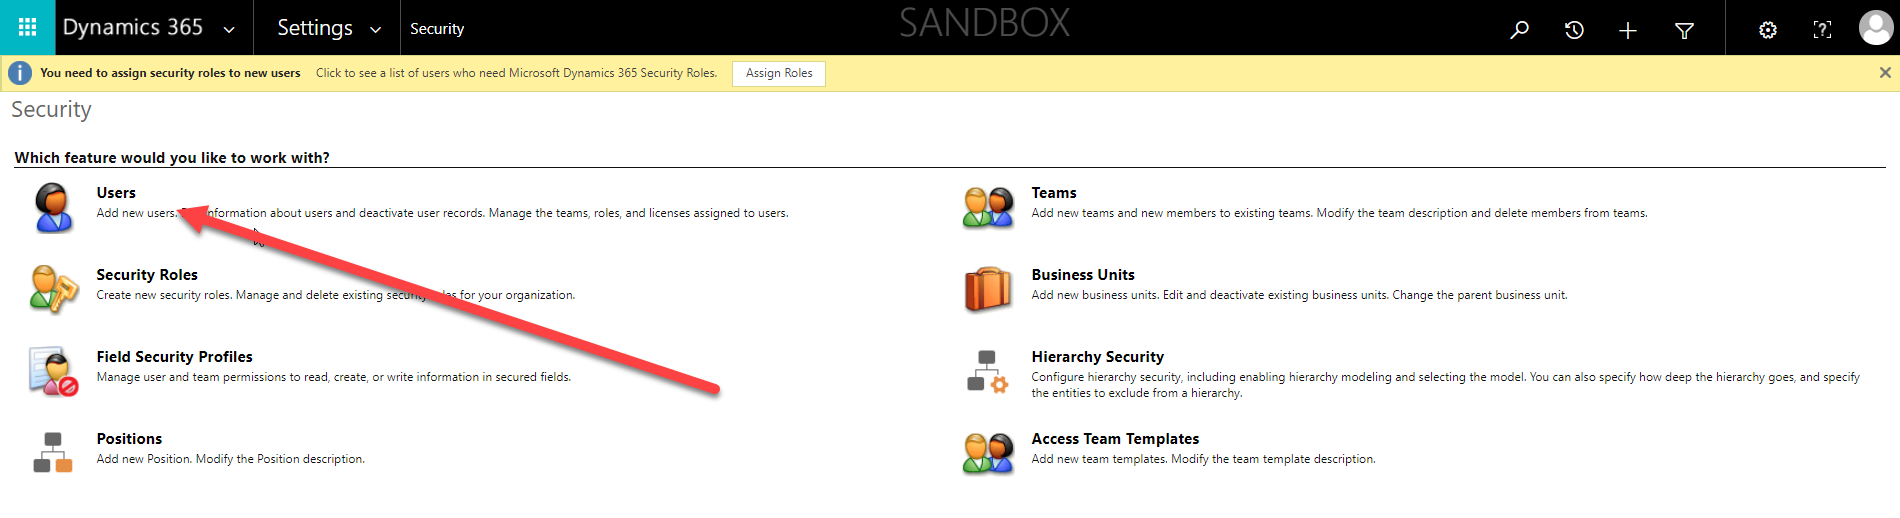
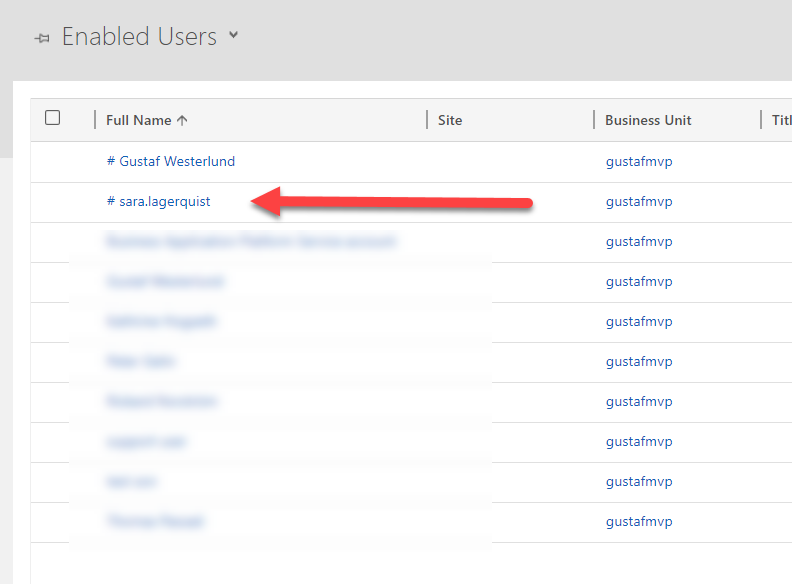
After you have installed the OrgDbOrgSettings tool, you can see it and open it by clicking the display name.
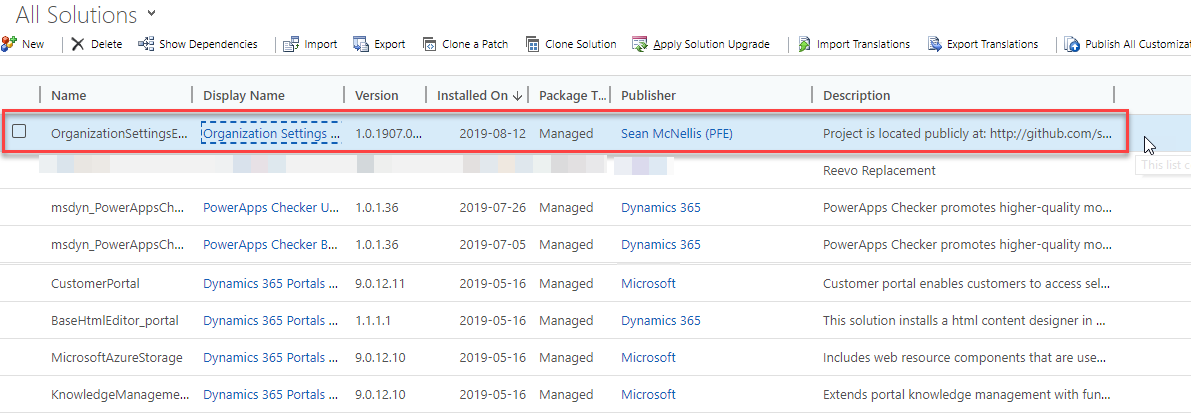
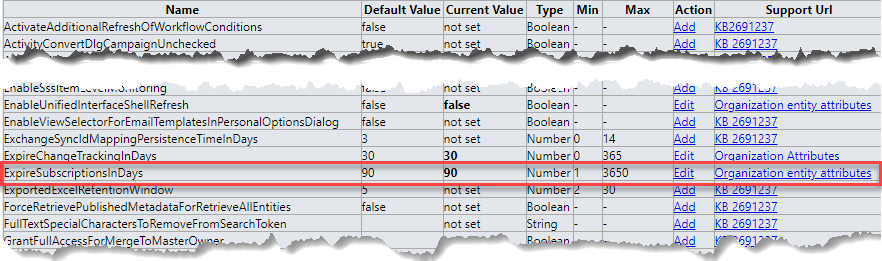
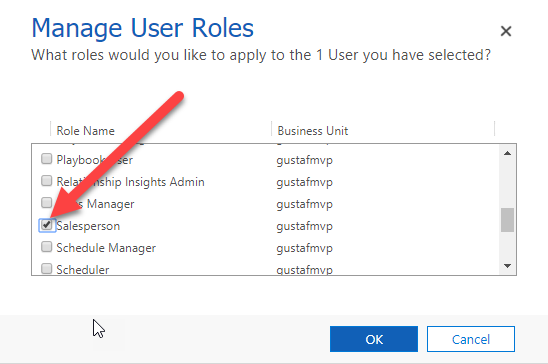
Then just find the “ExpireSubscriptionsInDays” – Press “Edit” and change to whatever you would like it to be. You will typically have to confirm to save it to Dynamics 365 CE/CDS
With that done you should just have to wait for the magic to be done.
As far as I have understood these two settings and this table is used to indicate how long changes and deletes are stored in this table and related tables for integrating systems to be able to read. This can, for example be Data Export Service, the old Dynamics for Outlook client etc. Hence reducing the numbers to, for instance 15 (the lowest recommended number by Microsoft) can result in some changes not being propageted to these integrated systems in the case that the integrations or just an offline client being offline for more than 15 days. And I also got the feeling that setting it to 5 was below some internal threashold and hence wasn’t really supported despite the fact that it says in OrgDBOrg that the lowest value is 1.


Recent Comments