
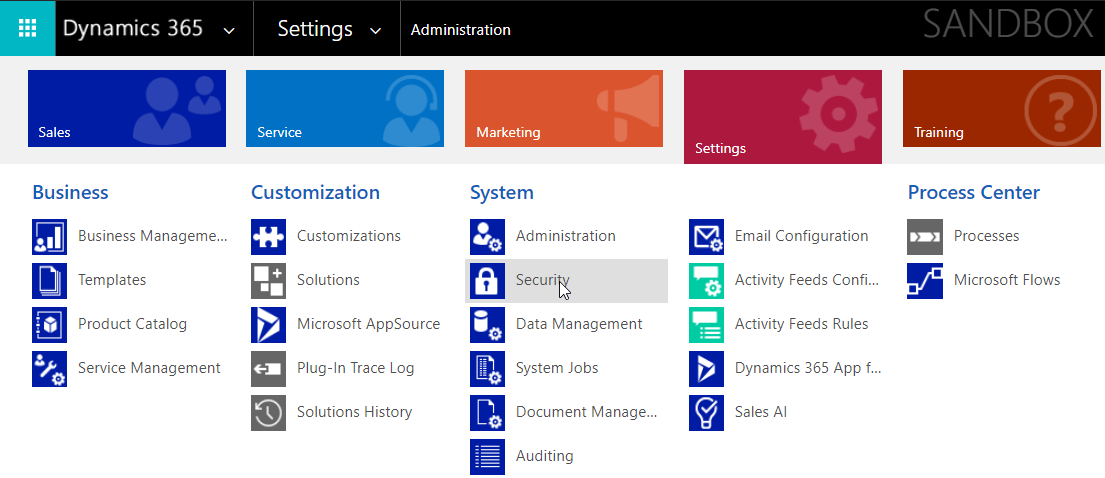
Fast data management in a limited CDS world
In May 2019 Dynamics 365 CE/CDS enacted some new throttling mechanisms that have caused some headaches for anyone wanting to manage a lot of data in CDS (I will refer to Dynamics 365/CDS as just CDS below). There are several different throttles but the one that has cause me most trouble is the concurrency throttle. Kingswaysoft will release support for handling this in the next release and you can also request a special version from them if you ask nicely. In the meanwhile this post can give you some help on how to work as fast as possible using application user mulitplexing and a loop with a 5 min wait to make sure that the throttles are reset.
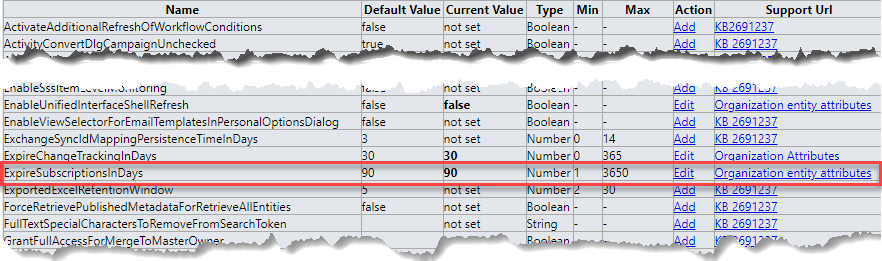
The new throttling on the main CDS API, as described here: https://docs.microsoft.com/en-us/dynamics365/customer-engagement/developer/api-limits needs to be carefully considered when doing heavy data manipulations in the CDS. One of my customers has a large system with numerous integrations of which the most data heavy are the Marketing Automation systems and the booking systems. And yes, this is Business to consumer.
With the new per GB pricing, keeping the database as small as possible has become an essential task and using the bulk delete just doesn’t work for large data loads, at the time of writing this article. I do hope that Microsoft increase the speed of it so that it does become more useful but currently its speed is somewhere around 1-2 records per second.
The bulk delete also has limitations on that it can only base it selections on a query, i.e. a FetchXML. Often this is not enough, for instance when you want to remove “All emails except those that have any connection to either a case or a contact which has a case”.
For these reasons I almost always opt for using SSIS with Kingswaysoft connectors to CDS when working with complex data management. This article will be on how to get some performance now that there is tougher throttling to take into consideration.
User multiplexing
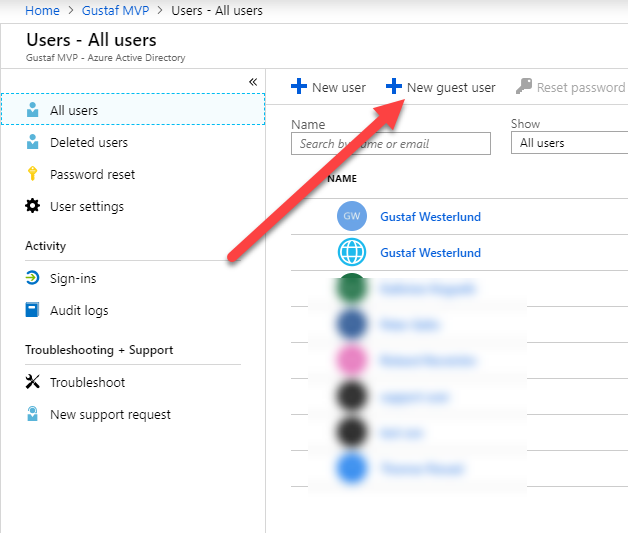
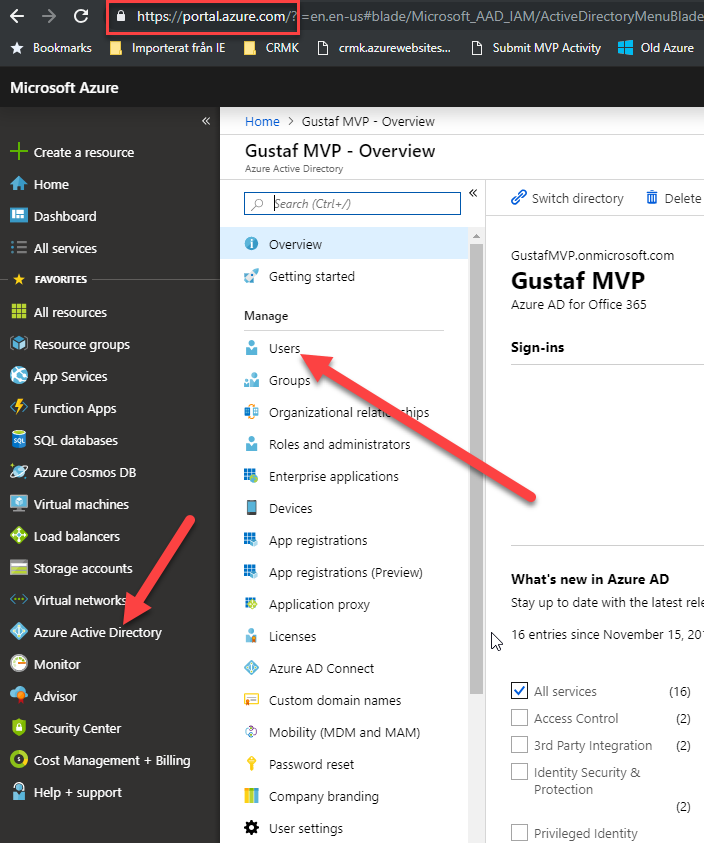
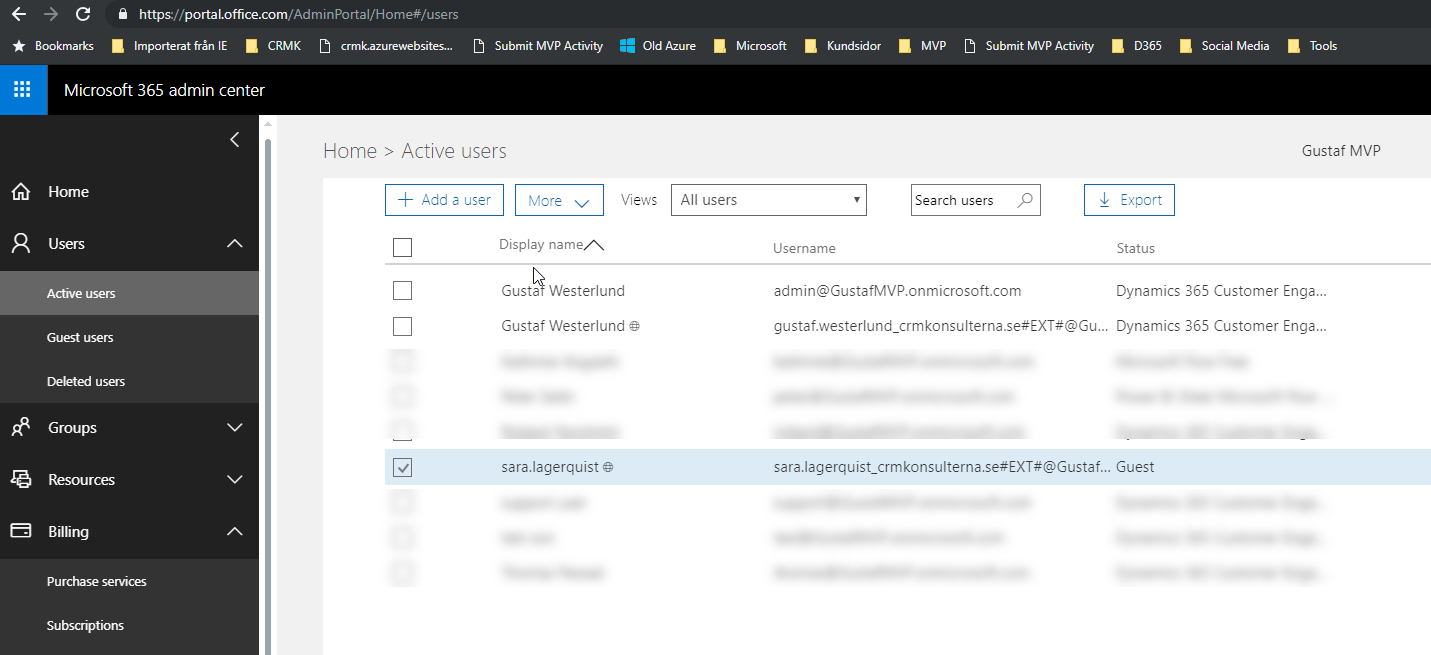
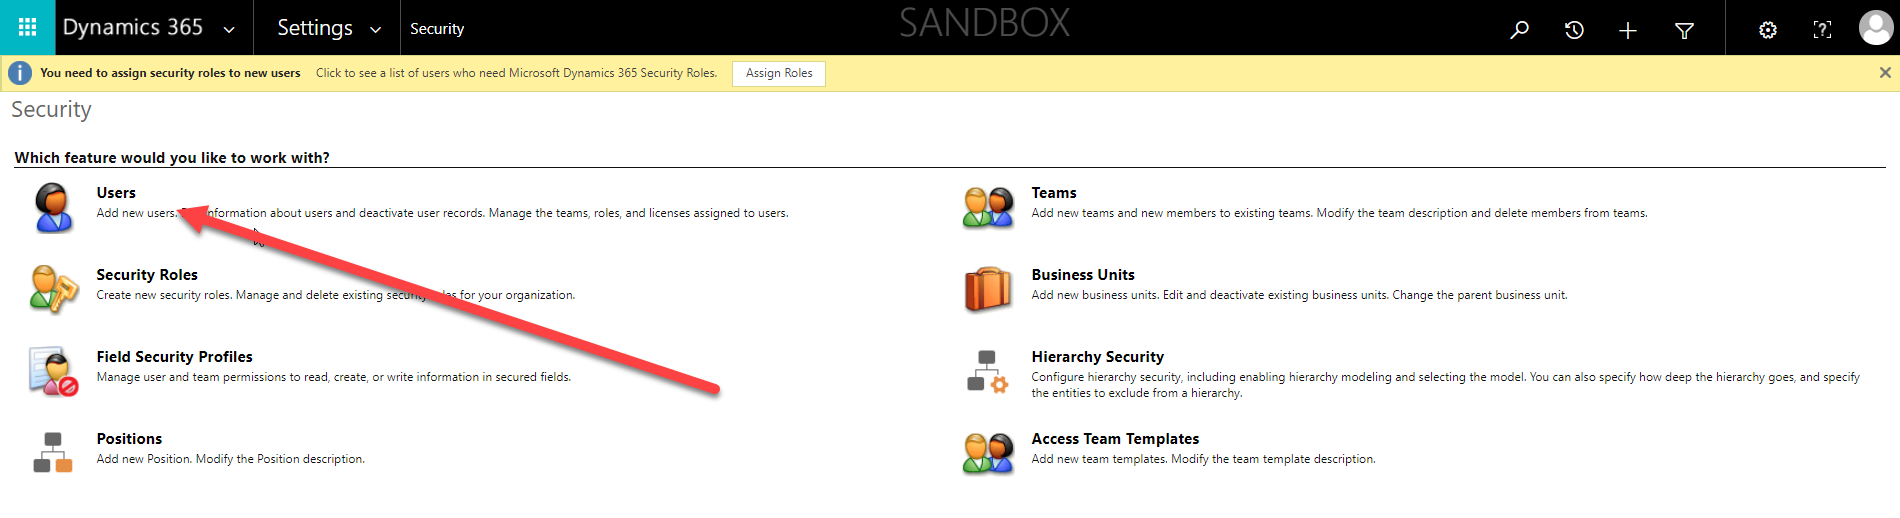
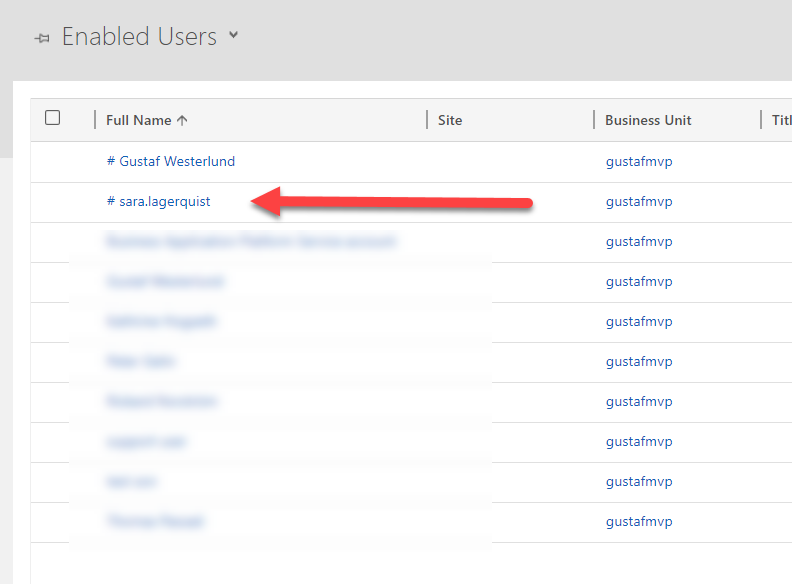
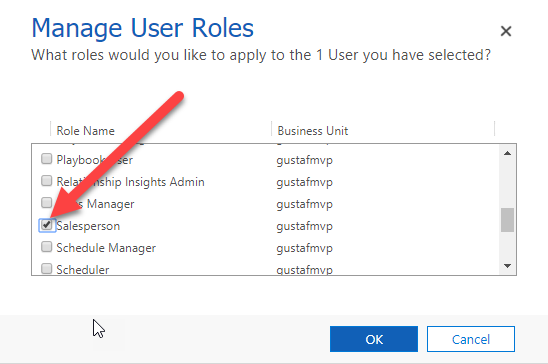
As the throttling is measured on a “per user”, one trick is of course to use multiple users and spread the load over all these users. You can, of course use normal users, but that will cost you licenses so the smart person will of course use application users instead. If you don’t know how to create application users in Dynamics 365, check it out here: https://docs.microsoft.com/en-us/dynamics365/customer-engagement/admin/create-users-assign-online-security-roles#create-an-application-user . In the example below, I will be using four different application users, one as the source account and three as destinations. The reason for this is that it is typically easier to read several thousand rows per request, but seldom efficient to do batch creates/writes/deletes of more than 10-20.
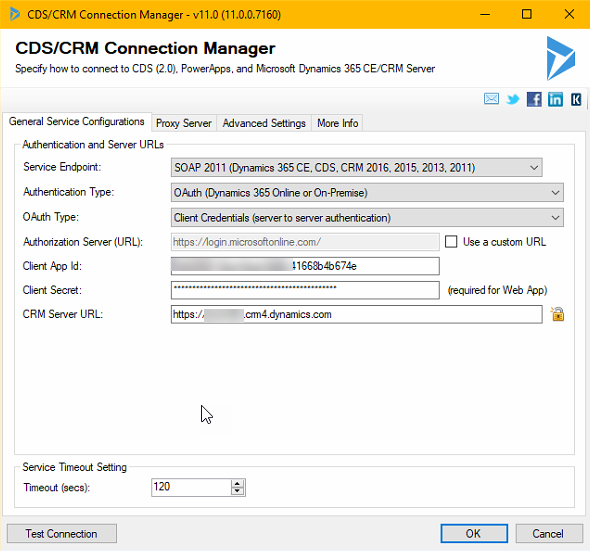
To do this with SSIS/Kingswaysoft you should start by setting up the connections. In this case, the four CDS/CRM connections and use the OAuth auth-type like below.
As you might want to have several packages in the same project and have them share the connections, it may be a good idea to use project connections. I also use an Azure SQL db for logging any errors. Previously I used to use CDS but now with the throttling, that is not such a good idea as the error itself might be throttling and hence the error can cause an error. Writing to some target that you know will not fail is hence a good idea for logging errors. When you are done with the connections, it should look something like this:

Now it is time to build the actual flow. If you’d normally have a Source and a Target, it will now look something like the image below, which I will explain.
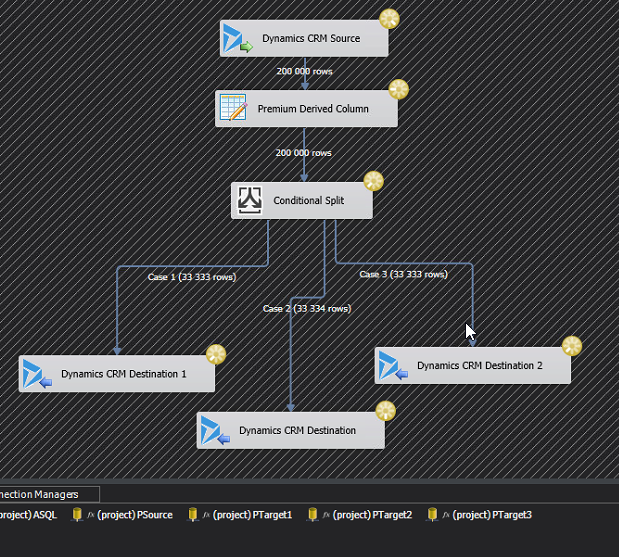
First of all, the Premium Derived Column creates a new column which simply contains the row number. It will look something like this:
I like to use the components that are available in the Productivity pack from Kingswaysoft, and this Premium Derived Column is one of these. In this case I think it is actually equal if you use IncrementalValue() or RowIndex(). I think you can create this logic with a normal Derived Column too, it just has less features.
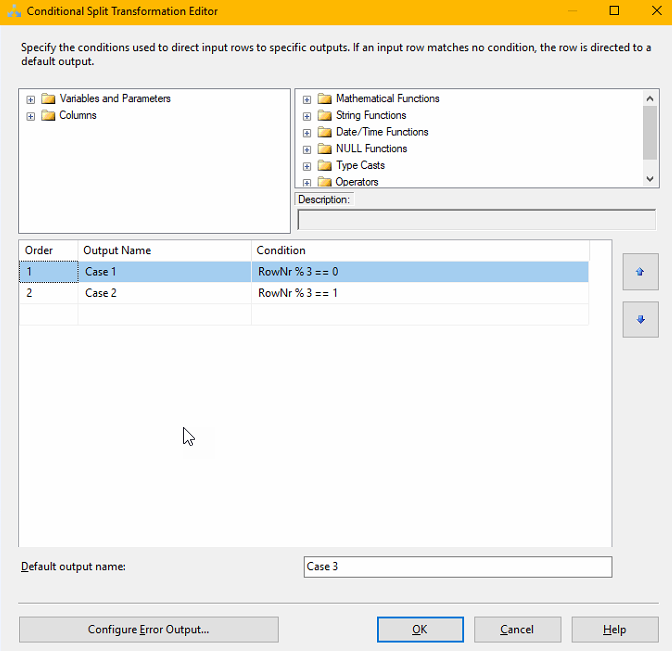
Next we need to create a Conditional split that divides the rows evenly between the three destination components. This is done using the mathematical operator modulus which is written using the “%”-sign. For those that didn’t study this in school, it simple means “the rest” in a division. For instance 5%3=2, if you divide 5 by 3 you will get 1 and a rest of 2. What we will do, is assign RowNr%3 == 0 to Case 1, RowNr%3 == 1 to Case 2 and the rest to Case 3. That should divide them evenly. It looks like this:
You then create the three destination components. I typically create one first, copy it and change it, as that is faster. Make sure that you set the Connection Manager to the three different Target Connections.
I also recommend that you fiddle a bit with the batch size and the number of threads and test out which gives the best results for you and the entity and action you are working on. There is no one answer here. I would typically start at Batch 10, Threads 16.
Tuning DataFlow property settings
If you back out to the Control Flow view and right click on the Data Flow you have created, there are some other interesting setting you can twirk.
DefaultBufferMaxRows – 10 000
DefaultBufferSize – 10 485 760 (10MB)
EngineThreads – 10
These can also be tuned to allow for the Data Flow to handle more rows, more memory and use more parallell threads which of course will make it faster (if that is the bottle neck, typically not when working with Dynamics)
What I have found is changing the maxrows to 100k, the buffer size to 100 MB and engine threads to 32 will not hurt but you can find several other blog articles specializing in SSIS that discuss this.
Crude throttle handler
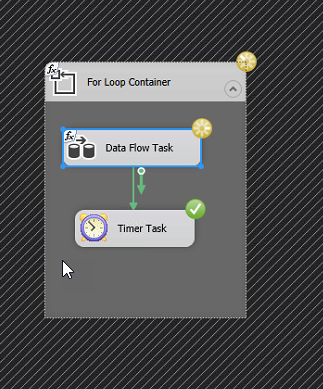
What I have noticed is that many of my Dataflows simple seem to grind to a halt after 400-600k rows read from Dynamics. Not sure if it the read or write part that is causing this but what I figured is that probably the most pragmatic way of solving this would be to create a loop that runs a data flow that is limited in the number of records, typically 400k, wait 5 minutes then iterate. Smartest version is of course to have a control variable which checks to see when when there are no more rows and then breaks the loop, simpler version is to just loop n number of times to cover the amount of data you are trying to move, ie. number of rows per iteration x number of iterations. It would look something like the picture to the left.
If you would like to refine the loop a bit to make it more automatic, create a variable of type Int, for instance RowCount, set the initial value to be 10 or something different from 0. Then set the EvalExpression to “@RowCount > 0”. After this add a RowCounter control to the Data Flow and connect this to the variable RowCount. When the Data Flow runs and returns 0 rows, it will run to the end, the EvalExpression will evaluate to “False” which will cause it to break.
Using this technique, I am able to remove several million records in just a few hours. With one of these jobs I managed to remove 20 GB of structured data in less than two days (no attachments or similar, just records). By adding more application accounts and of course both to the source and particulary to the destination side, you can increase the speeds you are getting.
I do also advise you to be on the lookout for Kingswaysofts new version which I think will come soon, and do as I, make sure to always download both the Dynamics and Productivity Pack. I have read that there are great things coming to the productivity pack!


Recent Comments