Azure guest accounts in CDS/Dyn365
Azure Active Directory (AAD) has a feature where it allows users of foreign tennants to be granted access to the current tennant. In other word, if you are running contoso.com and a user of northwind.com would like to have access, you can add this user as a guest account in Azure. However, I have found that giving this user access to Dynamics is not fully straight forward, although, it is far from rocket science. In this article I will show how this is done.
Do note that I have heard from people in the product team that there are features of the powerplatfor that cannot currently be accessed using a guest account, I think it was Canvas Apps and Flow. I will have to try this out and get back to you (or someone else could! – I would appreciate a link back to this article) in a later article. I also do think that they are workin on this.
On a high level, what we need to do is:
- Add user in AAD
- Grant License
- Wait for the user to pop up in CDS/Dynamics
- Assign a security role in CDS/Dynamics
To start with, we need to go to the Azure Portal: https://portal.azure.com – and click on the AAD menu item on the left.
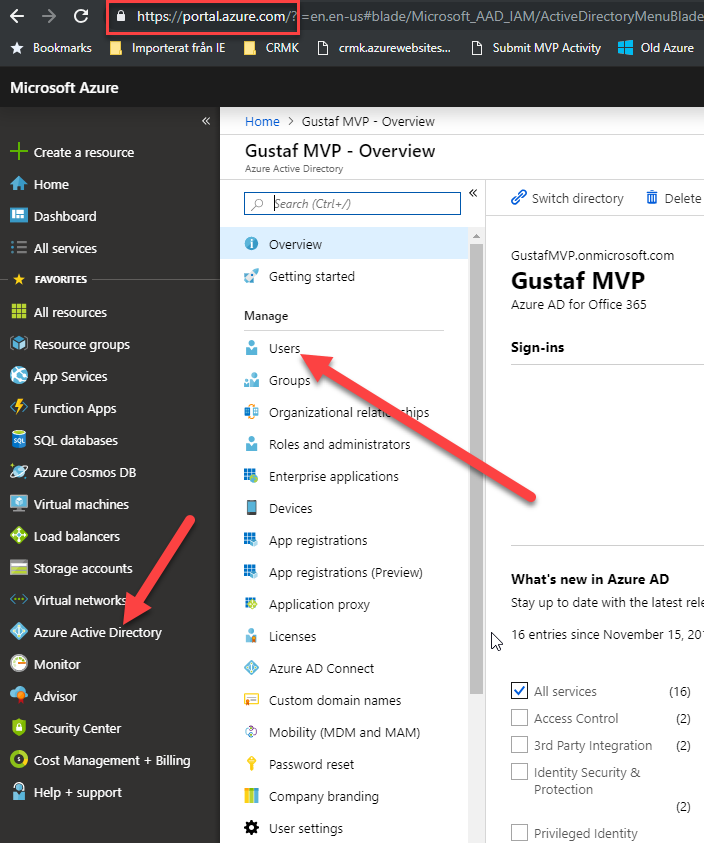
Browse to portal.azure.com -> click Azure Active Directory (AAD) -> Click Users
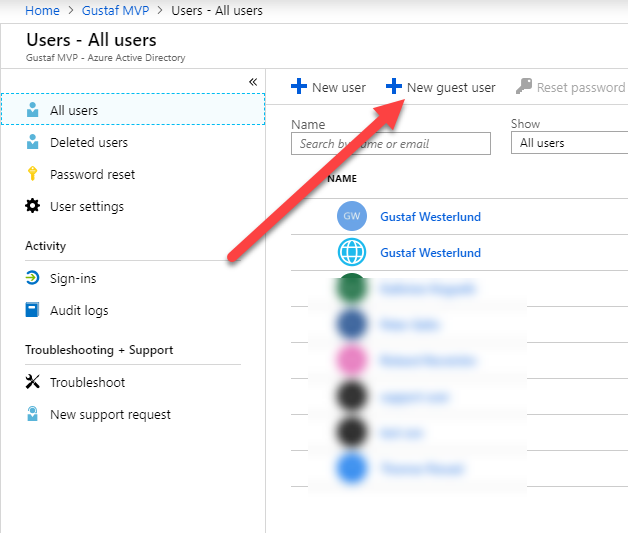
Click “New guest user”

Enter the email address of the user, and perhaps some nice personal email message showing you are not some evil spammer!
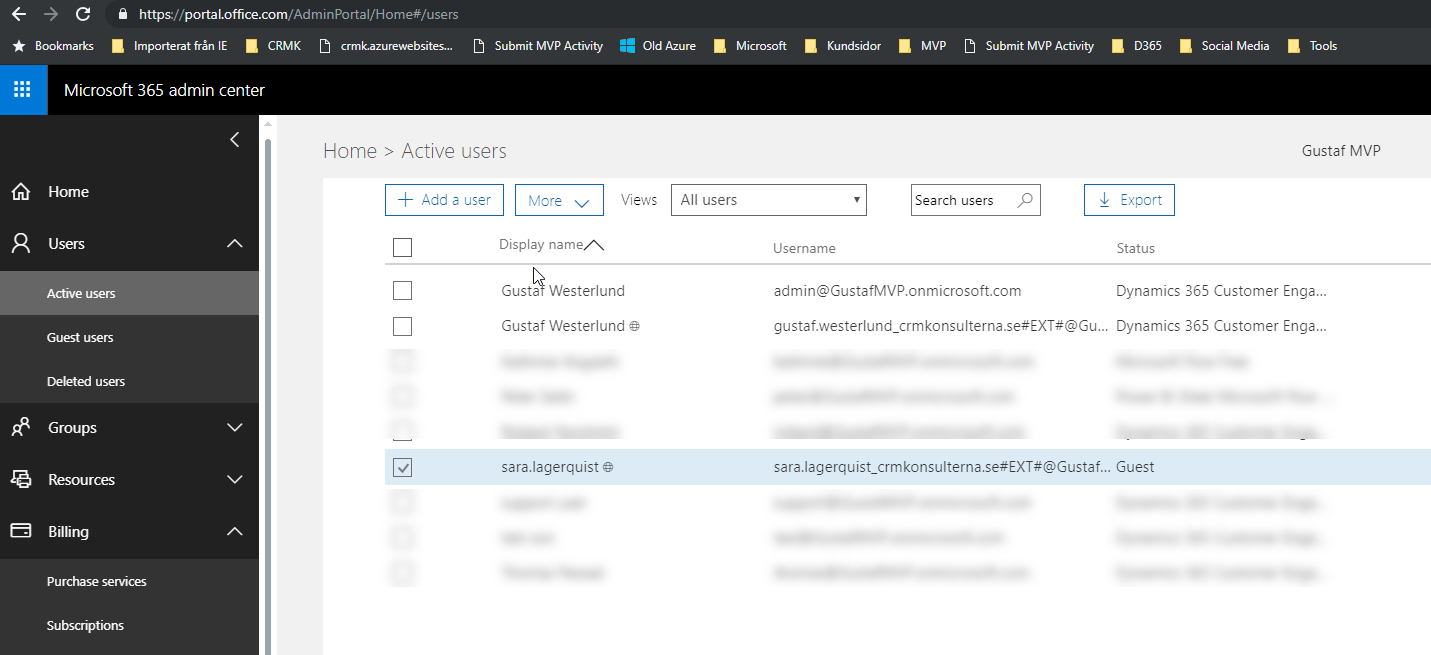
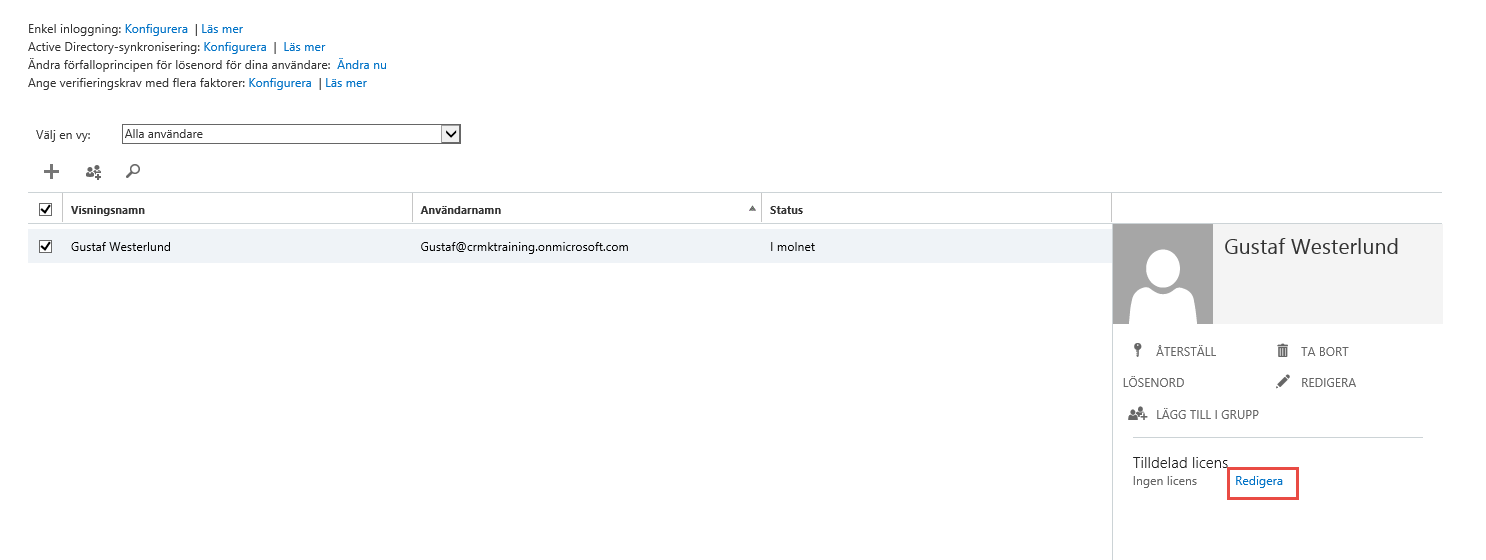
Then go to portal.office.com and you will now be able to see the new guest user in here.
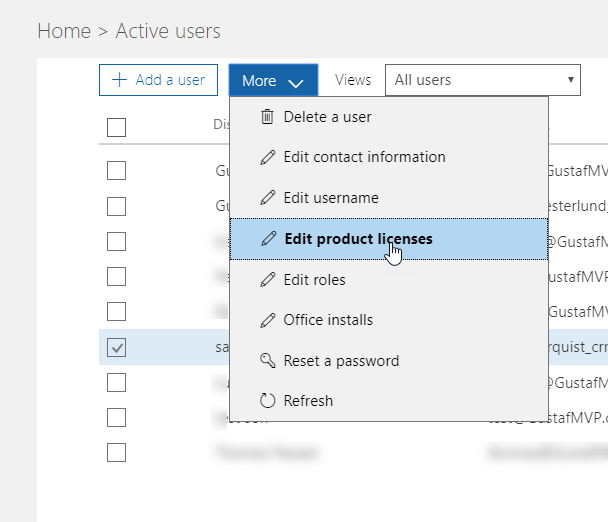
Select the guest user and click “Edit product licenses” – Note, I have not been able to set licenses directly by opening the user, only this way.
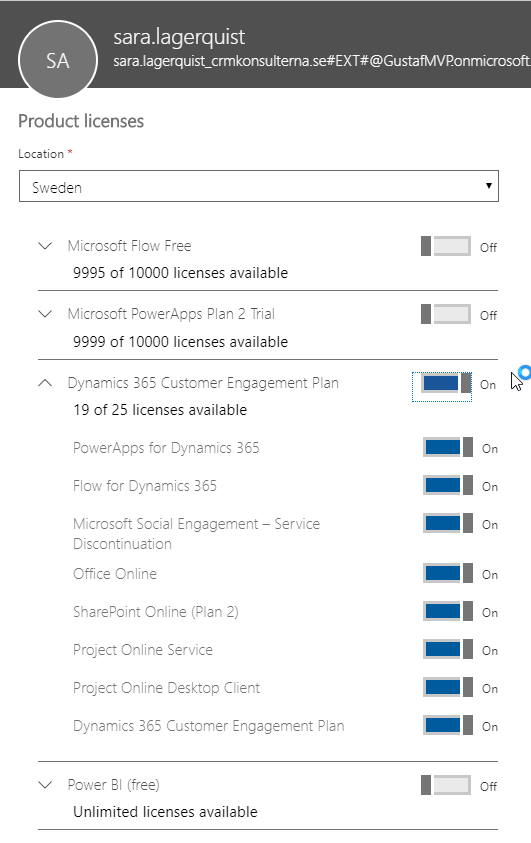
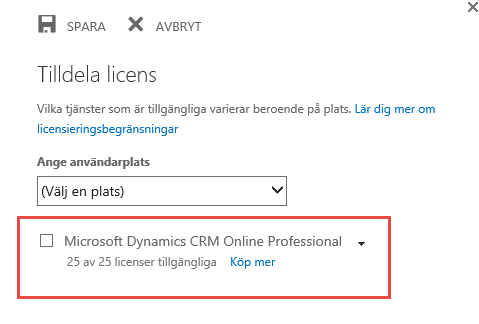
Assign the license required, P2 or Dynamics Customer Engagement App or Plan – in the example above, a Dyn365CE Plan 1 (trial)
After you have assigned the guest user a license, you have to wait a while until the asynchronous service in O365 provisions the user in the CDS. This often is rather quick, but sometimes takes more time. When I was making this, it took more than 15 minutes.
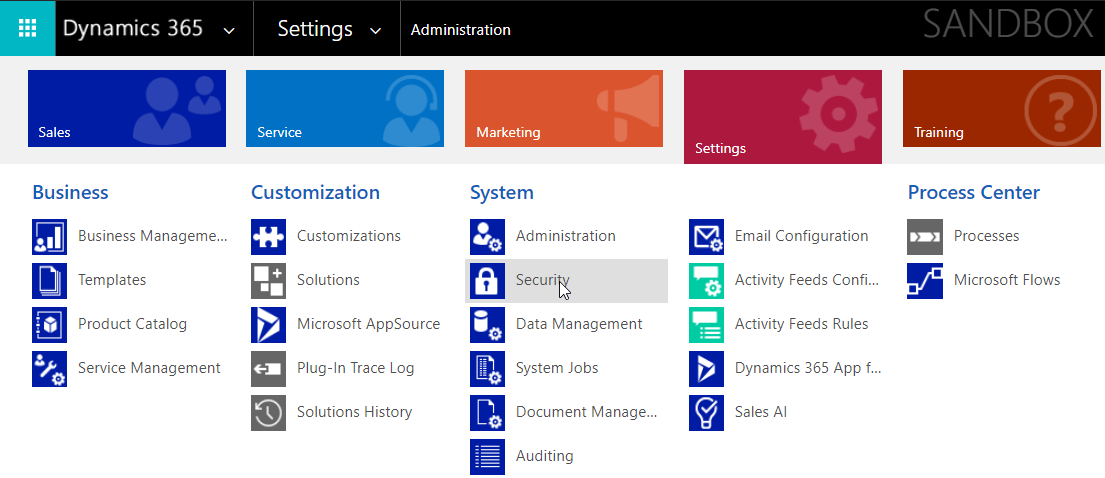
To find the user in CDS/Dyn365 go to Settings and click on Security. (Old UI)
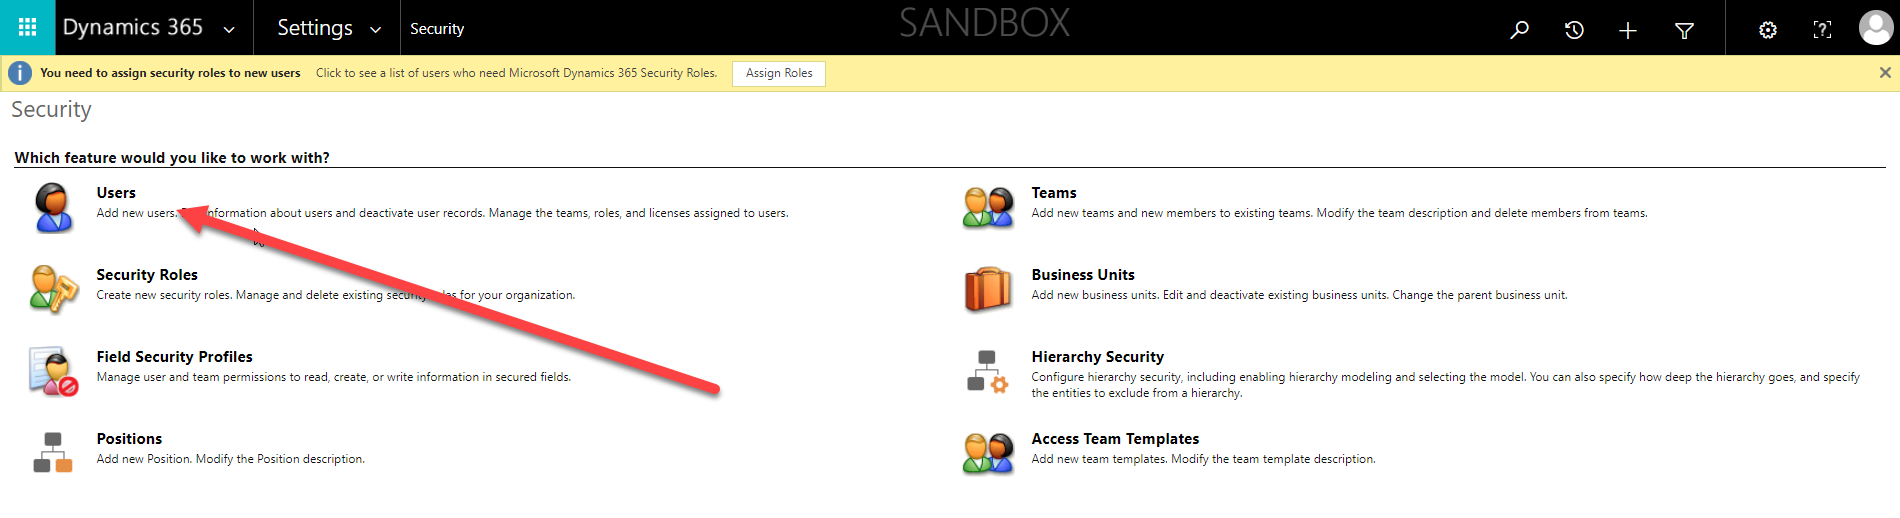
And then click on “Users” in the Security area.
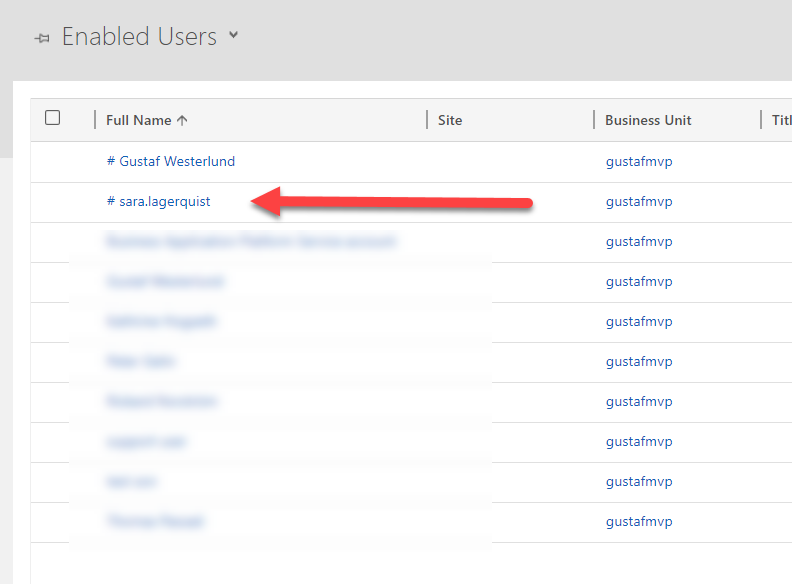
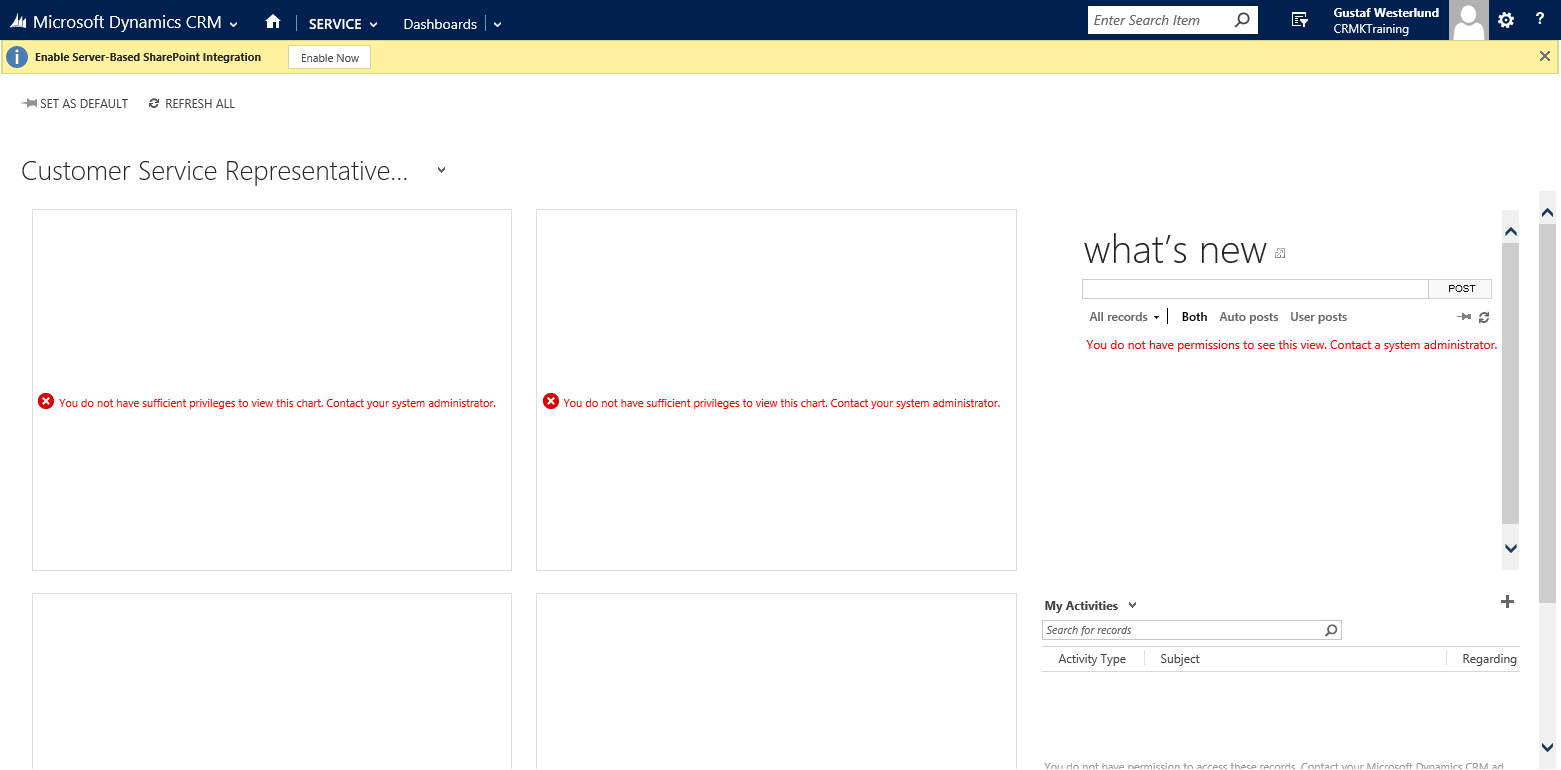
This is how a guest user look like in Dynamics 365/CDS. It has a # sign in front of it. As you can see, I have another one with my name previously created.
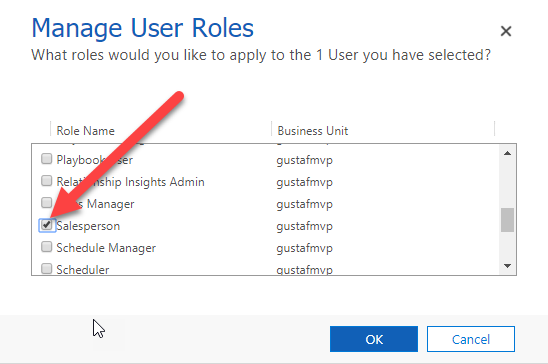
The last thing that has to be done is to grant the guest user the correct role.
After this, just give the user the direct URL to the system and they should be able to log in with their normal users.
This is a very useful method to use when setting up trials for someone as they do not have to sign in with another account to access they system. I strongly recommend it.
As mentioned in the beginning of this article, there might still be some issues with using canvas apps and Flow using guest users, so do be aware that not all features could be available.


Recent Comments